How To Install WordPress On Localhost?
WordPress localhost steps to code the theme locally when developing a new WordPress-based website;
Download WordPress
Download the latest version of WordPress for free at https://wordpress.org/download/. This downloaded file contains all the files and themes that make up the infrastructure of WordPress, and all the encodings and updates that will be made are on the files in this file.
Extract the file in the zip file you downloaded and give it a name. (Example: wp-installation)
On Mac Os
Assuming that the MAMP local server program is used on Mac Os, move the downloaded and named file into the Applications>MAMP>htdocs directory.
Go back to the MAMP application and click the WebStart button.
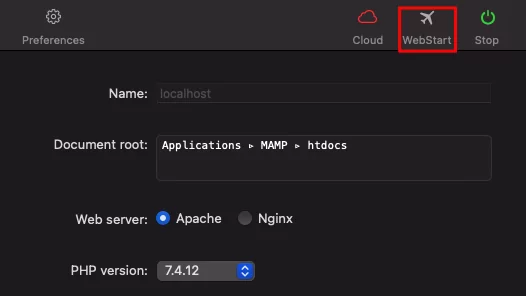
After clicking the button, you will see the screen of the local server as in the image below. When you click on the My Website link on this page, the htdocs file directory will open and you will see the WordPress folder you just moved to this directory.
1. 2.
2.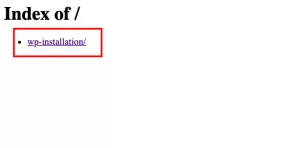
When you click on the file you have named, WordPress installation starts.
WordPress Installation
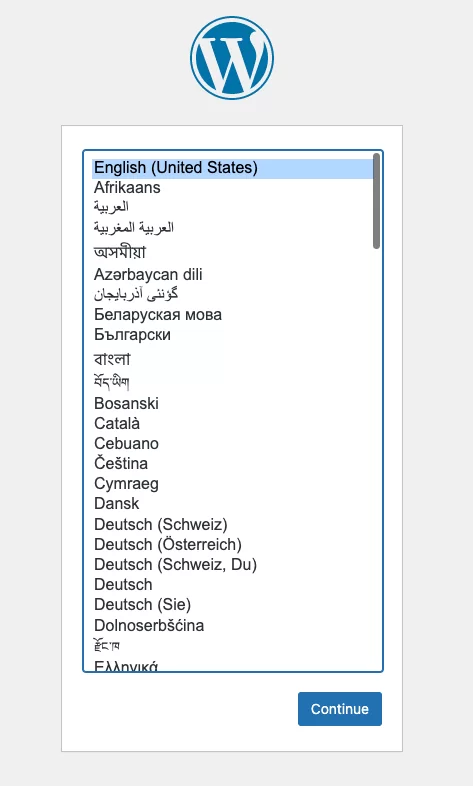
In the first step, choose the language of the WordPress CMS.
After the language selection, an information page about WordPress’ database connection comes up.
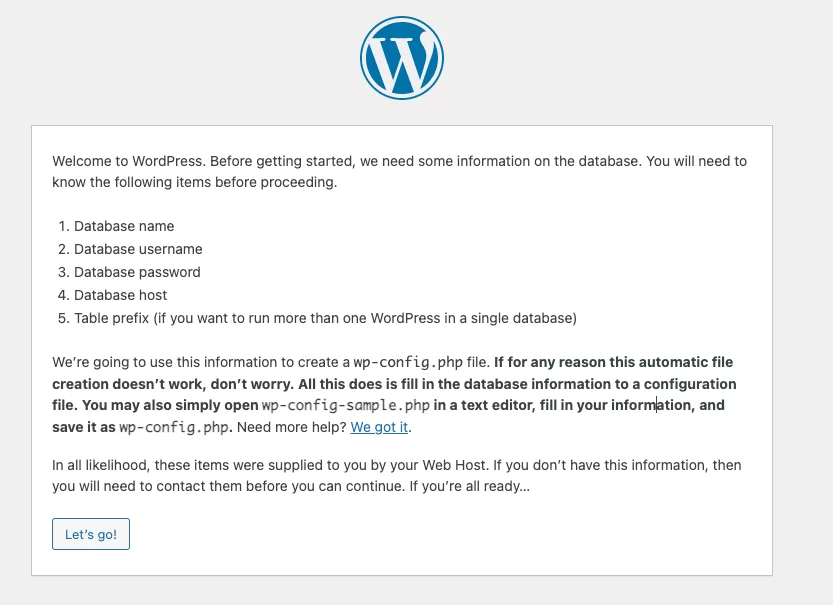
At this stage, it is necessary to create a database via phpmyadmin for WordPress installation.
Creating a phpMyAdmin Database
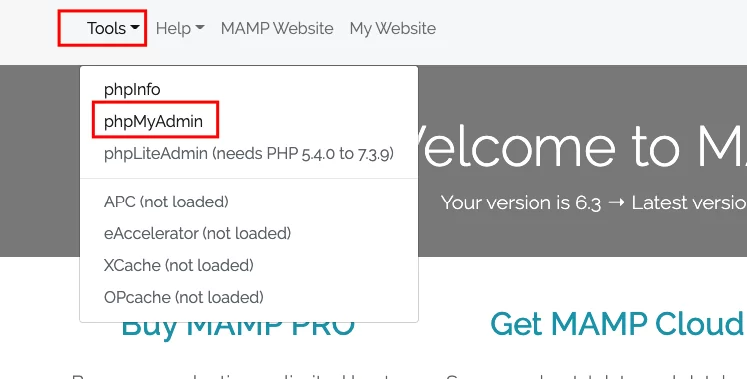
When the WebStart button on MAMP is clicked, the phpMyAdmin interface opens in a new tab when the Tools>phpMyAdmin link is clicked on the web page opened.
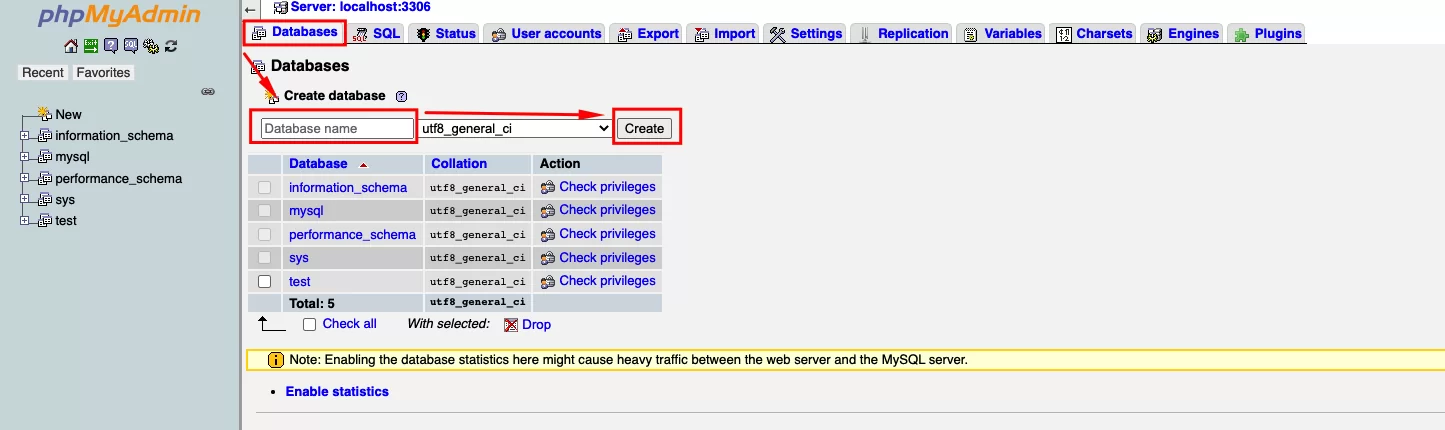
There is a list of databases on the left side of the screen, a new database is created under the Databases tab on the tabs at the top of the screen.
When the newly created database name is clicked, a new user is created by clicking the Add user account button under the Privileges tab.
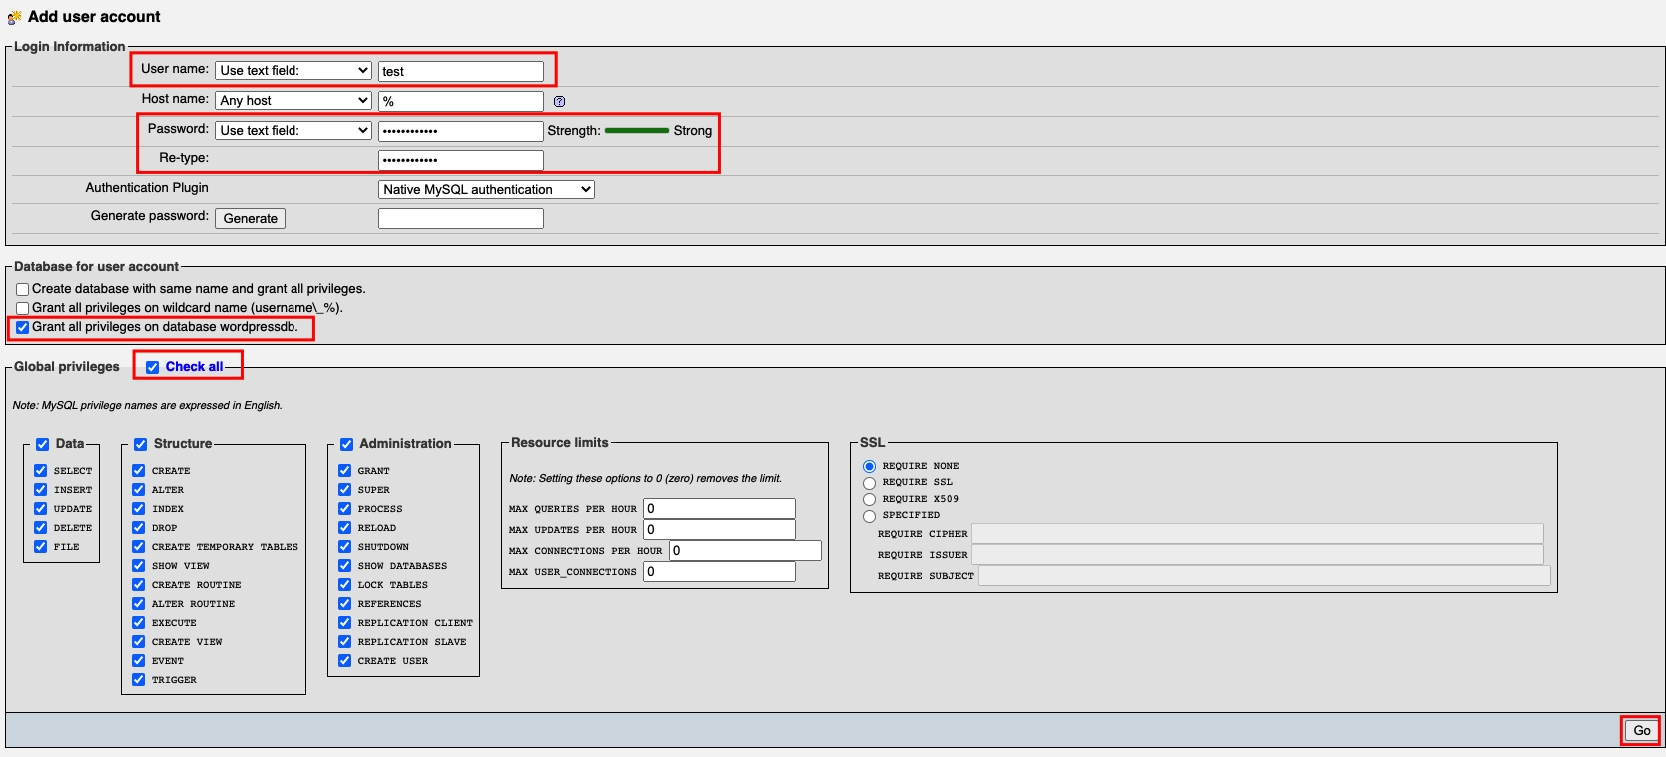
After the username and password fields are filled, click the check all box below, finally click the go button in the lower right and save the new user to the database.
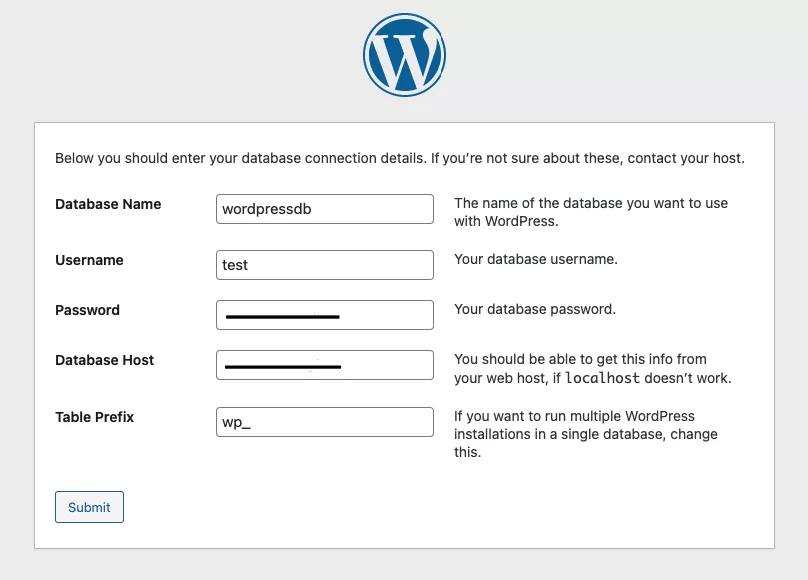
When you come across the field below, fill in the database name, user name and password fields that you created through the phpMyAdmin panel and confirm.
You can leave the Table Prefix field as wp_ , it comes as a prefix for database tables.
WordPress creates the wp-config.php file in the root directory of the files and hosts the database information created on phpmyadmin on this file.
If an error is encountered at this stage, when we enter the database information in the file named wp-config-sample.php in the root directory, edit this file name as wp-config.php and save it, we connect the database information again.
Example wp-config.php file:
When the WordPress database connection is successful, it switches to the following page.
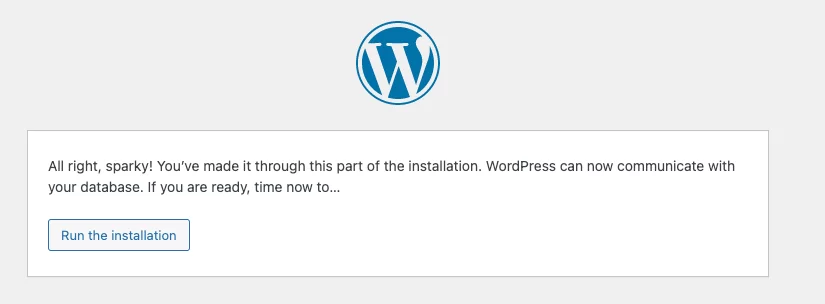
When you go to the next page with the Run the installation button, the WordPress CMS login settings page comes up.
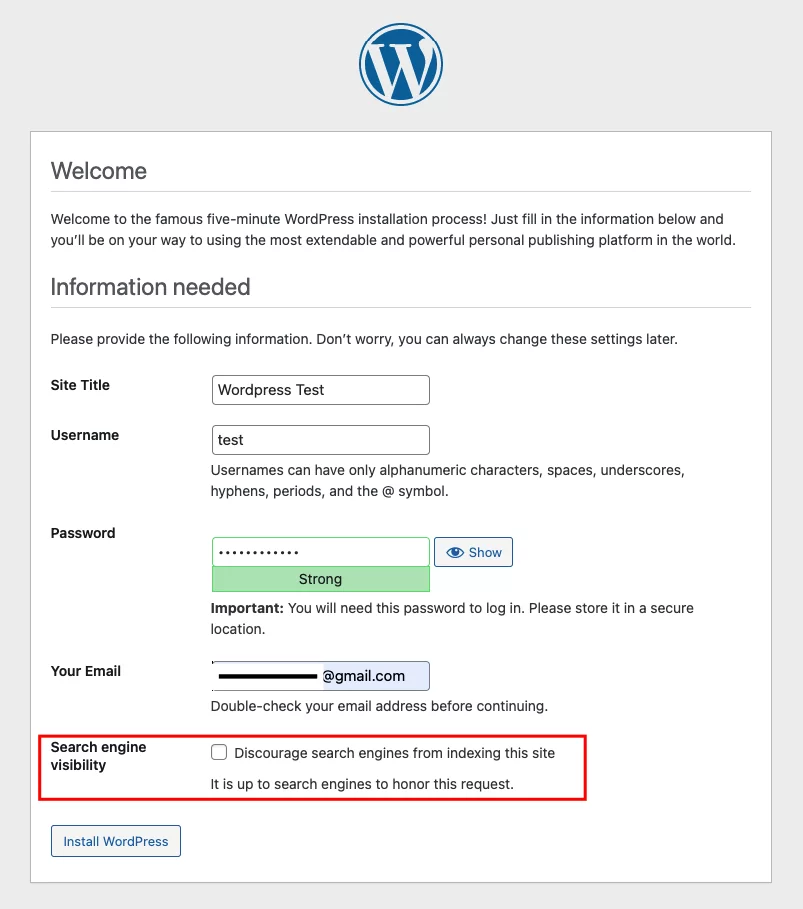
On this page, the user information that you will log in to the WordPress panel is entered via the localhost/admin link.
Note: When you tick the box in the Search engine visibility field, it prevents search engines from indexing this site when the website is hosted, and adds a noindex, nofollow tag to the page.
When the Install WordPress button is clicked, the installation is successful.
On the next page, there is a link that leads to the page where you will log in, indicating that the installation was successful.
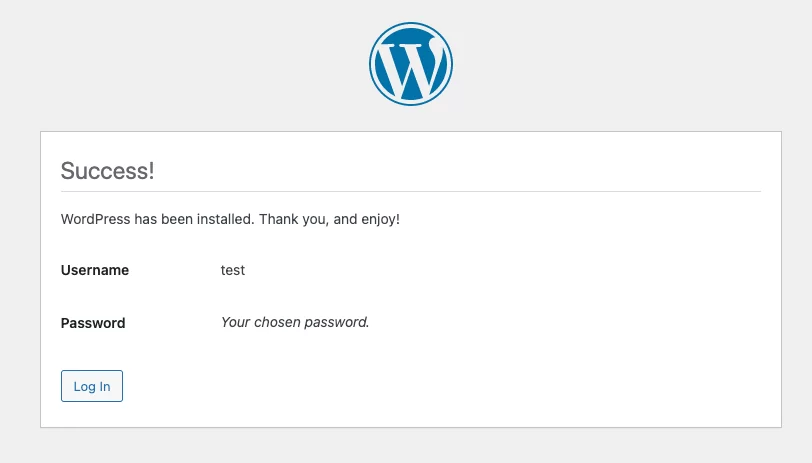
When you click on the Log In button, you will finally see the login page below.
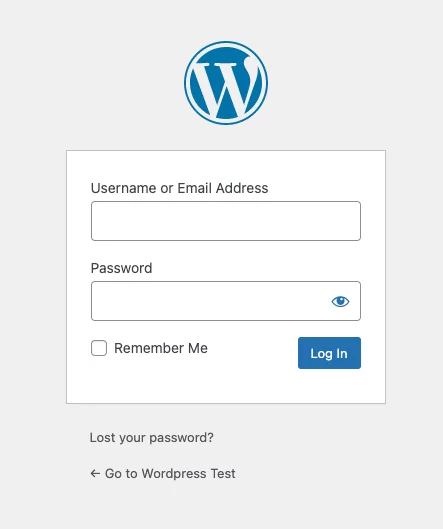
When you log in with the username and password you just created, you are logging into WordPress’s dashboard.